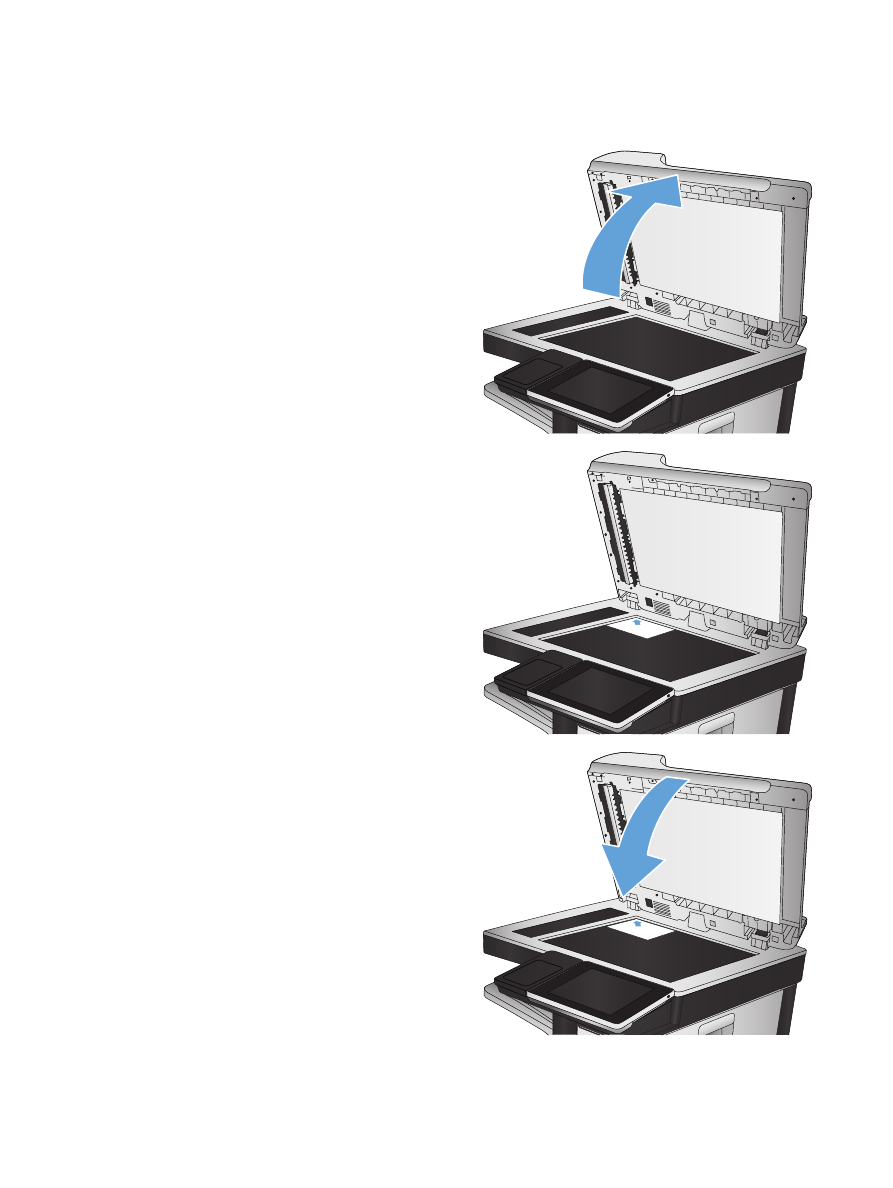
Scan a photo
1.
Lift the scanner lid.
2.
Place the photo on the scanner glass with the
picture-side down and the upper-left corner of
the photo in the upper-left corner of the glass.
3.
Gently close the scanner lid.
176
Chapter 7 Scan/send
ENWW

4.
From the Home screen on the product control
panel, touch one of the buttons for the scan/
send features:
●
Save to Network Folder
●
Save to Device Memory
●
Save to USB
5.
Select an existing folder, or touch the
New
Folder
button to create a new folder.
6.
Enter the name for the file in the
File Name:
field.
7.
Touch the
More Options
button at the bottom
of the screen.
8.
Touch the
Optimize Text/Picture
button.
9.
Select the
Photograph
option, and then touch
the
OK
button.
10.
Touch the Start button.
NOTE:
These settings are temporary. After you have finished the job, the product returns to the
default settings.
ENWW
Scan a photo
177

178
Chapter 7 Scan/send
ENWW